Getting Started
Navigator Series

Step-by-step instruction video
Navigator Unpacking
We'll walk you through unpacking and setting up your new Navigator gaming machine.
Step 1: Unboxing

Stand your computer’s case box up so that its text is right-side-up and the hand holds are away from the floor. Once the box is open from the top carefully rotate the box so the open end is facing the ground then gently lift the box. Then remove the foam inserts on the top and bottom of the PC. Once foam inserts are removed ensure PC is right side up.
Step 2: Remove Panels and Protection Foam

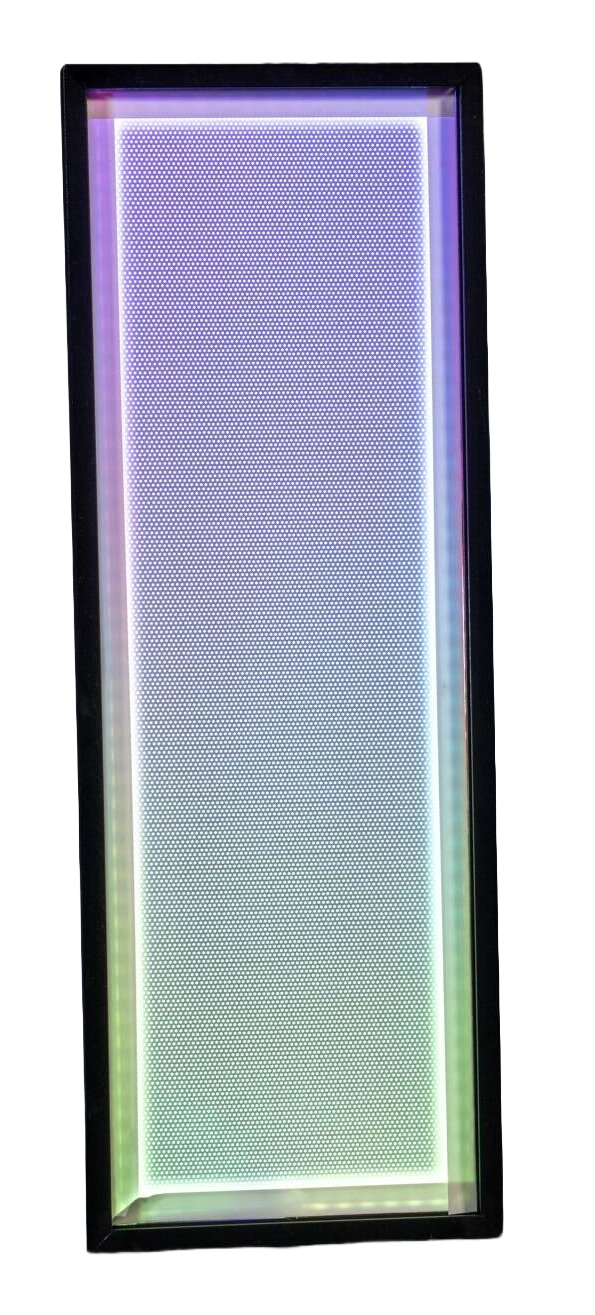
Locate the back of the case. Unscrew the thumbscrews indicated above (2a, 2b). Slide the glass panel away from the case. Place on a flat surface and remove any plastic film on the inside and outside of the panel. There should be three foam inserts, each can be removed with light rocking side-to-side: First remove the bottom most that supports your graphics card, then the top most. Finally, remove the front-most foam insert.
Step 3: Final Setup
Inspect the internals for any loose wiring or damage, If found, please photograph and contact Support@StaforgeSystems.com immediately.
Once done with inspection insert large glass panel in first then screw the top glass panel back in.
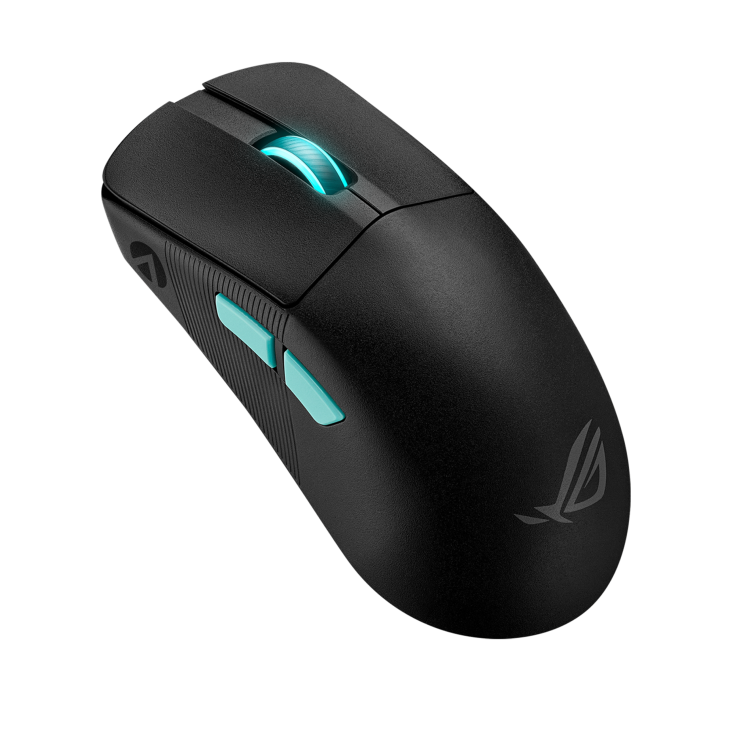
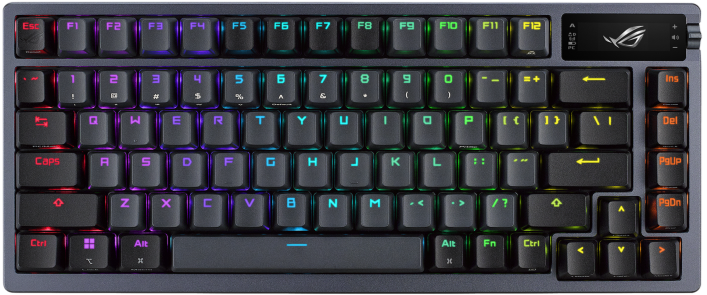
Plug in your peripherals (mouse keyboard HDMI ect.) and the power cord ensuring the switch is toggled to the “I” position.
Finally press the power button on the front of the PC and you’re done!
Now enjoy one of the Best PCs in the Universe!
Need Additional Support?
We're here to help. Supporting copy area goes here.


